Building an Outdoor Cat Shelter, Part II
I’m Not Kitten Around Over Here…
For the last six weeks, I’ve been spending much of my time in Crazy Town working on building that pawesome outdoor cat shelter I mentioned last month. If you don’t know wtf I’m talking about, you need to go read The Plan post right meow. I’ll wait…
I know it feels like furever ago that I told you about my plan to build a house for my stray cats, but the time has finally come for me to share it with mew. Um, you. This is “The Build” post!
This will be a long, long post. You and I going on a road trip and we’re gonna be gone a while… Like, you might want to go use the bathroom first. Maybe get a snack. Get comfortable. Put on some stretchy pants…
Warning: If you are not crazy, like at all, and you just want a normal, reasonable, easy-to-make, affordable shelter that will keep your outdoor kitties warm and dry this winter, then you should probably jump out of the car right meow and go here. Save yourself.
But if you are a little bit (or a lot) crazy, and you want to see how I made the most excessive, expensive, over-the-top cat shelter you may have ever seen in your life, then buckle up. We’re goin’ to Crazy Town…

The Supplies
I suppose every crazy project starts with a crazy list of tools and materials. Here’s mine:
- This cooler
- This cat door
- One 4×8 sheet ½” plywood
- One 1x3x8
- One 1x5x8
- One pressure treated 2x4x8
- Trim molding, 3ft
- Tape measure
- Circular saw
- Saw horses
- Miter saw
- Electric drill
- ¾” spade bit
- Assorted smaller bits
- Wood glue
- Large clamp
- Medium clamps
- More clamps
- Jigsaw
- Nail gun
- ½” insulation foam
- Great Stuff
- Utility knife
- Spray adhesive
- Tape
A word about wood sizes…
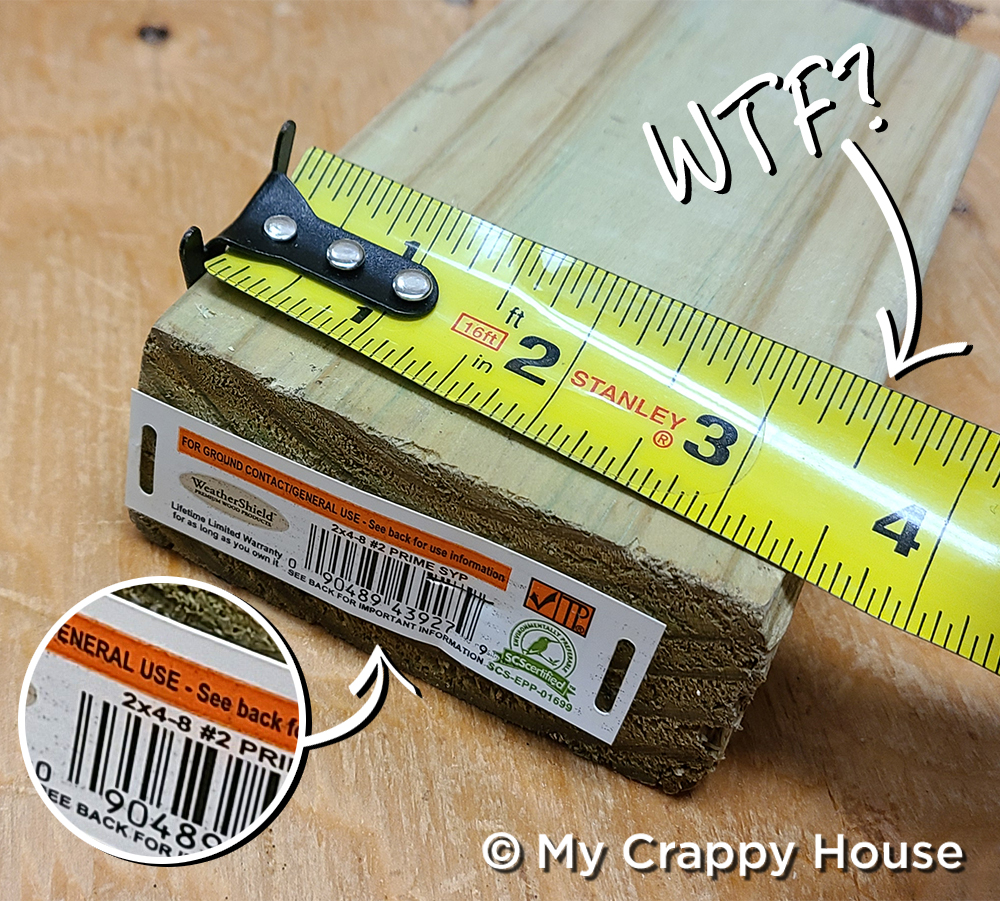
Did you know that wood isn’t actually the size they say it is? Like, when you buy a 2 x 4, the size is actually 1½ x 3½. (I am in the US and this is inches I’m talking about. Maybe in other parts of the world, where they use the metric system, they avoid this treachery.) So, for instance, when I tell you to buy a 1 x 3, I mean you should buy what the store says is a 1 x 3, even though we know that’s a total lie. I know it’s confusing.
Obviously, women had nothing to do with any of this.
The Disclaimer
One last thing before we head over to Crazy Town. I very specifically said earlier that I’m going to show you how I made this cat house. That’s quite different than me showing you how to make this cat house. The fact is, I don’t fancy myself a teacher. I’m more of a “Hey, look what I made!” kind of person, then you go, “WOW! You are freaking amazing! I could never do that.” and then I go, “Yeah, you’re probably right. I am exceptionally talented…”
That said, I still want to provide you with the means to replicate this project yourself (if you happen to be as gifted as I am), so you will find everything you need to do that in this post, mostly via visual aid, rather than with detailed, step-by-step instructions. If you have building experience, this post will be enough for you.
But, hey! You can always ask me questions, either in the comments below or via the contact tab above, or on Facebook, or on Instagram, or by carrier pigeon… smoke signal… telepathy… whatever.
The Plans
So, let’s start at the very beginning. (A very good place to start.) This exploded view shows you all of the pieces that make up this shelter, the dimensions of each, and how they all fit together.

For your convenience, and because I am awesome, I am linking a PDF here that includes the supply list and (even better) plans in a printable version. You’re welcome.
The Prep
When buying your supplies, I highly recommend you get your local home improvement store to make a few cuts for you on that (half inch thick) plywood. I know Home Depot and Lowes do that for free and it’ll make it way easier to get it all home. Ask them to make four cuts: three long rip cuts (lengthwise), then one more to cut all of those strips in half.

I used my circular saw at home to make the rest of my cuts, but if you don’t have one of those, I bet you could get them to cut all of your plywood pieces for you. “Please” and “thank you” are truly magical words, clinically proven to aid in successful mission outcomes. And if you get someone grumpy helping you, just tell them you’re afraid you might cut off your fingers if you try to do it yourself. Tell them you play piano. And you type a lot. Maybe flash the peace sign for good measure. Try to demonstrate that dexterity.
While you’re at it, get them to cut all of your other lumber in half so everything fits in your car. Tell them you drive a Mini Cooper. Or one of those silly Smart Cars. (Clearly, I advocate lying to get what you want in life…)
So, here’s the wood that I brought home.

And here’s how I cut my strips down to size.
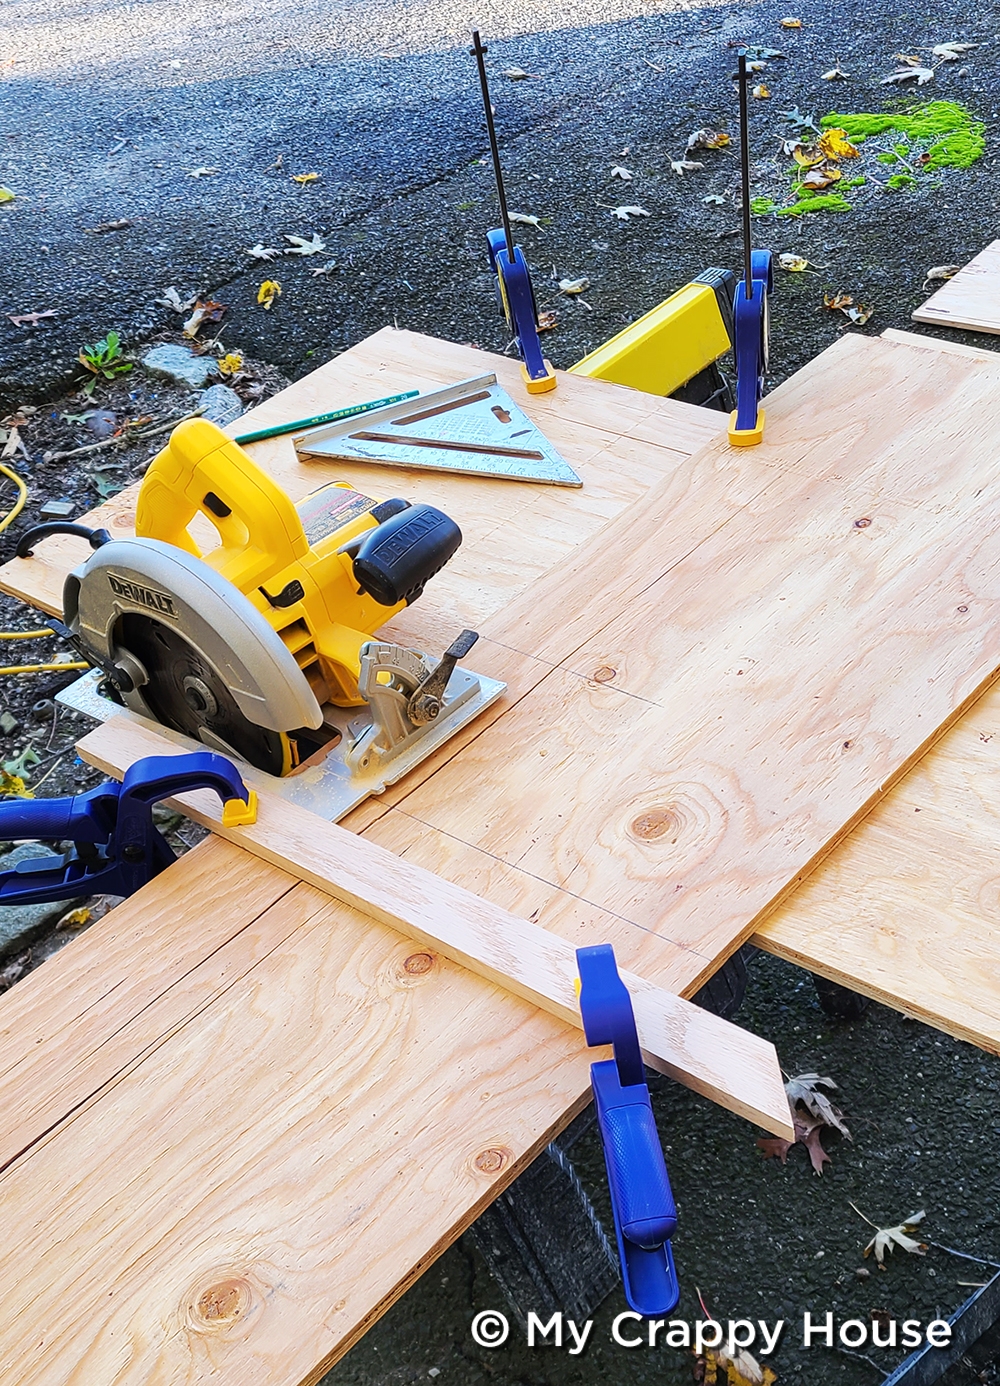
It’s not so easy to precisely cross-cut wood freehand, so I used scrap wood and these clamps to make a guide (or fence) for my saw to ride against. I’ve had this set of clamps for years and I use them very often. Definitely one of my favorite DIY tool purchases.
The Build
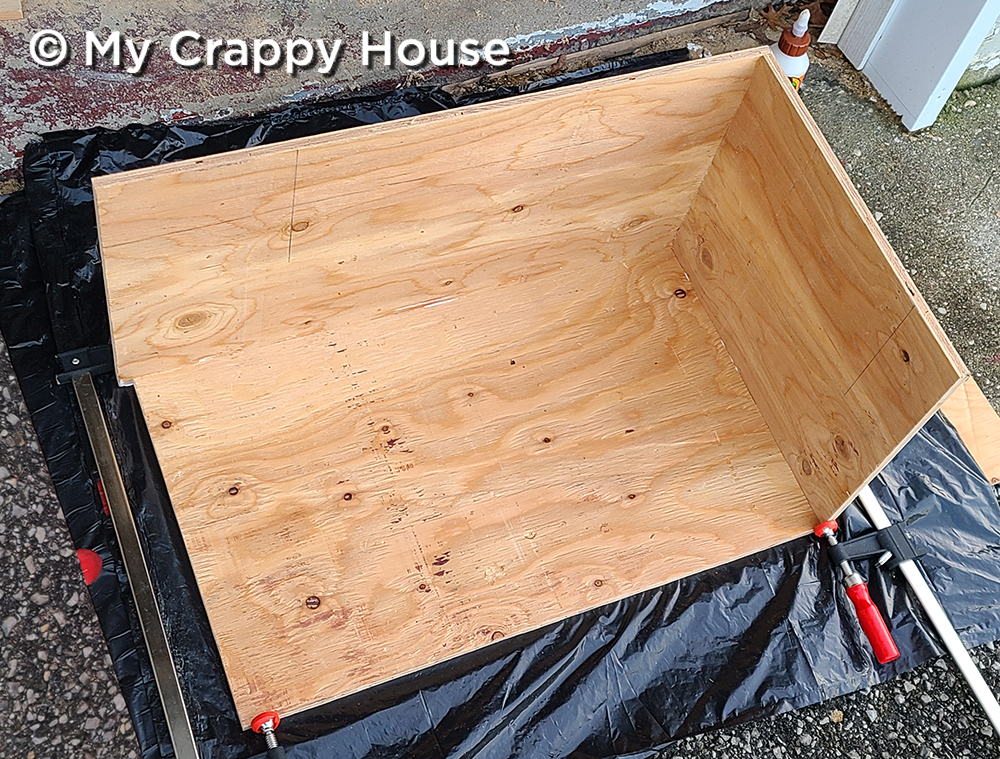
Finally! Let’s get this purrty started! The first thing I did was glue my box sides (H2 & H3) to each other and to the bottom (H1) with Gorilla wood glue. I used my 24″ clamps and one 36″ clamp longways to hold the pieces in place while they dried. (I let one corner set up before gluing and clamping the opposite corner.)
While that was drying, I worked on the base. I used pressure treated lumber for this because it’s rated to be in contact with the ground without rotting. Untreated wood is not going to hold up to the elements, so make sure you get the PT lumber.
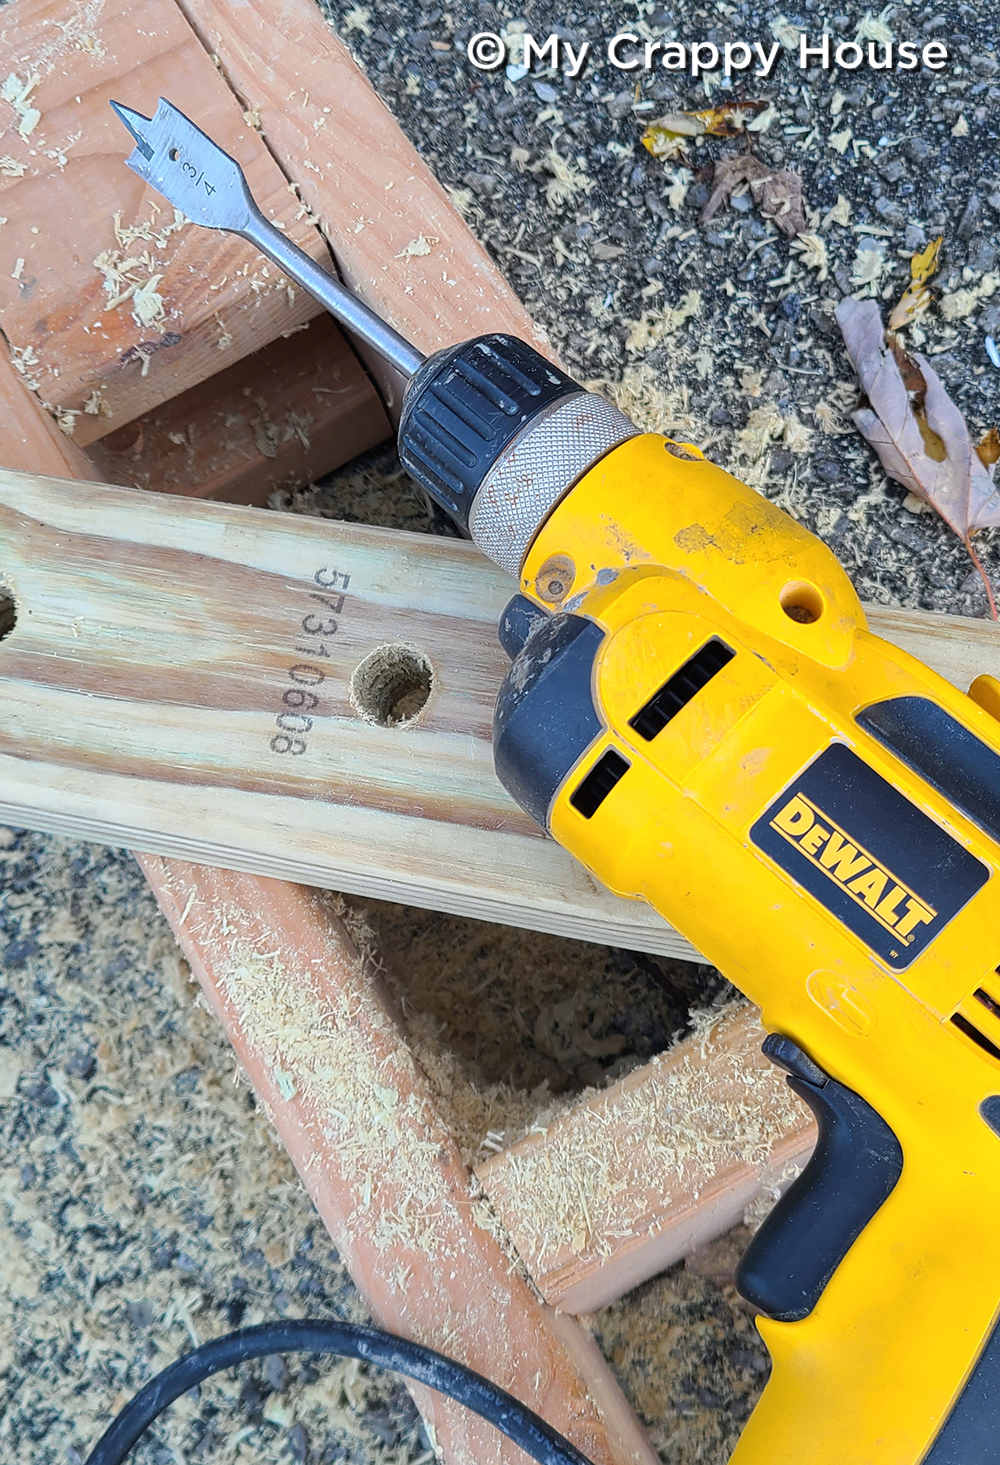
I cut the pieces to size using my miter saw, and then drilled holes in the two shorter pieces (B2) to allow air to flow through the base. (If water gets under the box (and it will), it needs to be able to dry out or the box will rot.) My cordless drill was struggling with this task, so I used my more powerful Dewalt electric drill instead with a ¾” spade bit to drill six holes in total. (Three in the front piece and three in the back.)
I glued and screwed the base together like this, pre-drilling my holes so the wood wouldn’t split.

(FYI, you don’t need to miter the corners on your base. I mean, they do expect that attention to detail in Crazy Town, but your residents (the cats) won’t care if you do butt joints instead. Just remember to adjust your measurements if you decide to make your base the ugly, lazy way.)
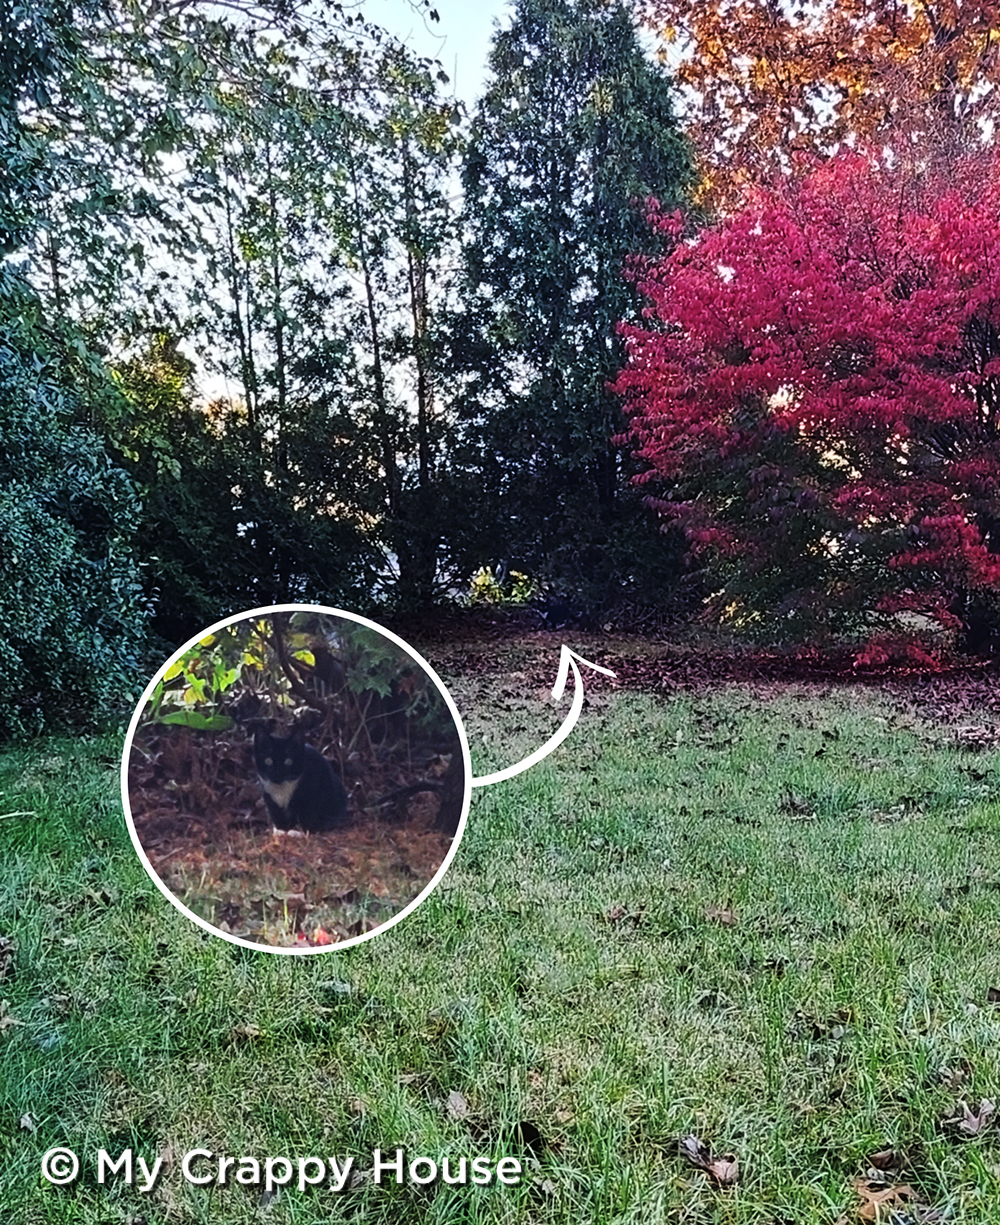
Although… this little kitty was watching me miter my corners with noticeable appreciation in his eyes, so maybe they do care…
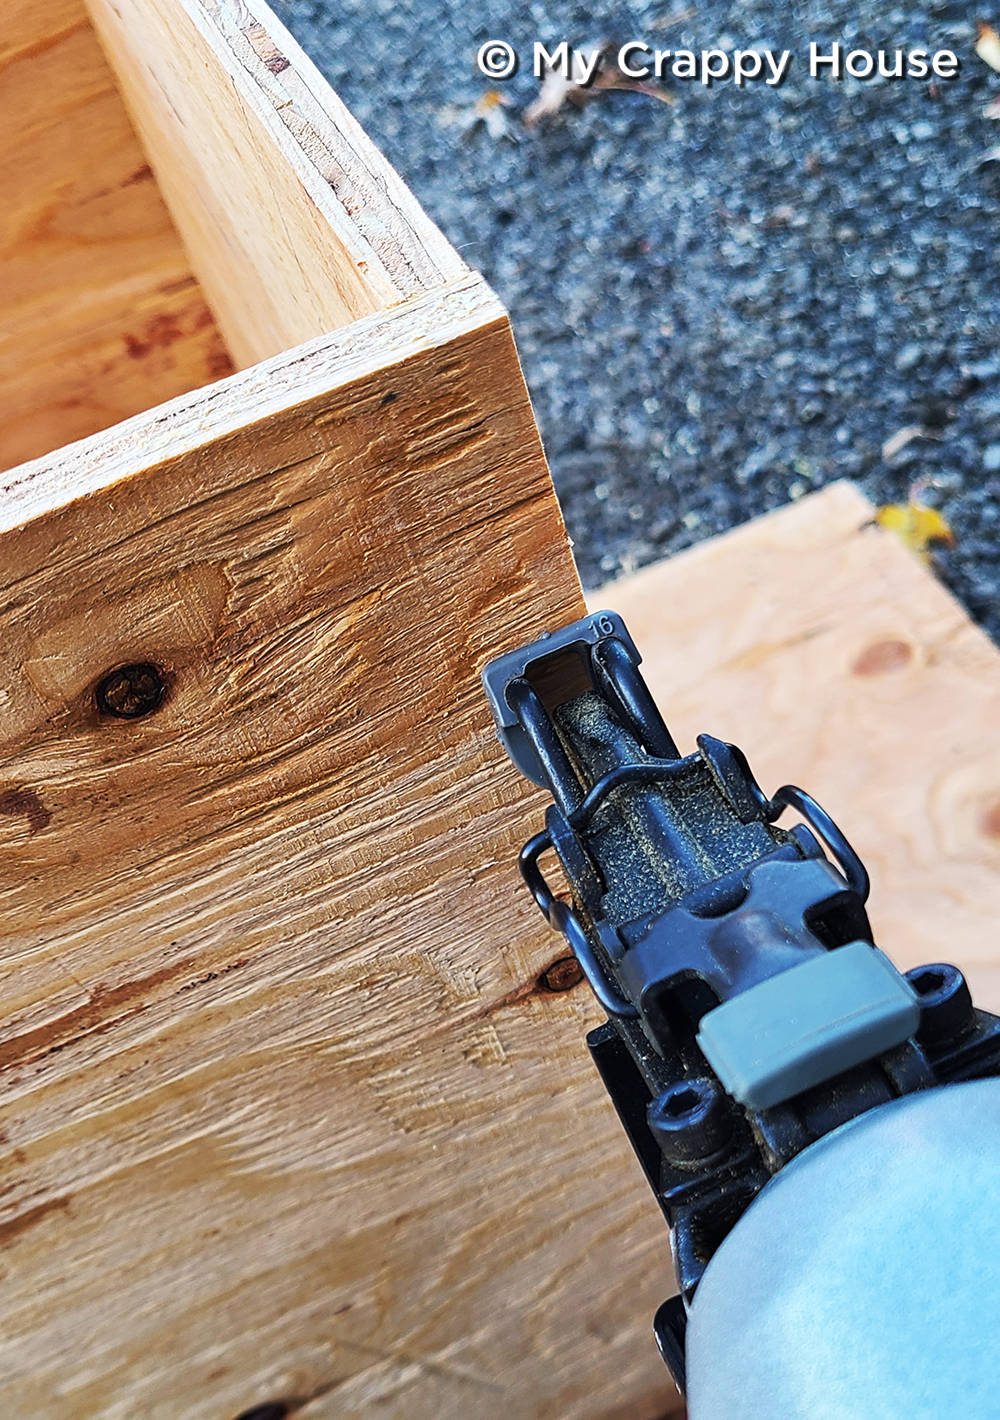
Back to the box. Once my joints were dry, I put in a few nails along each edge for extra strength.
Then I screwed the box to my base. I also sprayed the inside corners with clear Flex Seal. I wouldn’t say this is a necessary step. Yes, we are in Crazy Town, but I’ll admit I wouldn’t have bothered if I didn’t already have a can of the stuff in my garage. I guess you have to ask yourself, “How crazy do I want to be today?” and then act accordingly.

At this point, you’re going to start working with the cooler. This feels like a good place to mention that I designed my cat shelter specifically around the Igloo 48 Qt Laguna Cooler that has very specific dimensions. If you buy a different brand or size cooler, my measurements will not work for you. You can follow my general plans, but you’ll need adjust them to fit whatever cooler you buy.
Good luck with that.
The first thing I did was remove the handles on the sides with a hacksaw so my cooler would fit snugly in the box without any big gaps. If you want to follow my plans, do not skip this step.
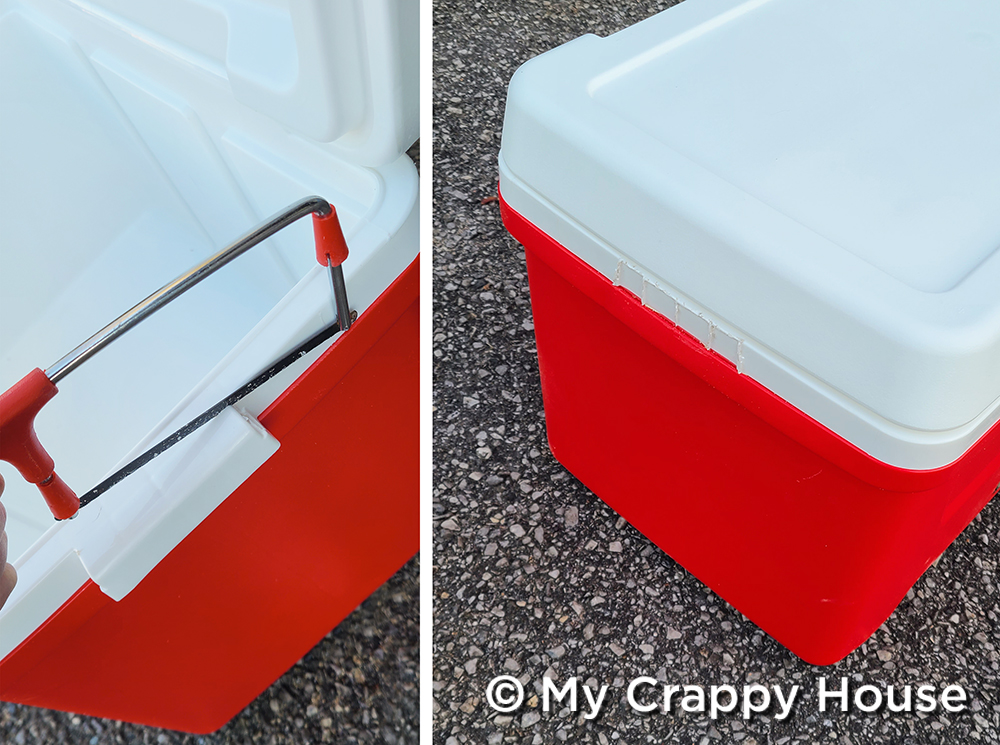
I imagine this shelter is going to need seasonal cleaning because, let’s face it, cats are gross. This meant I would need access to the cooler, and it’s why I designed my shelter to have a removable cover. In order for the cooler lid to open, the hinge needed to be above the rim of the wooden box. In my plan, I included an extra half inch in the height so I could put a piece of foam insulation in the box, under the cooler.
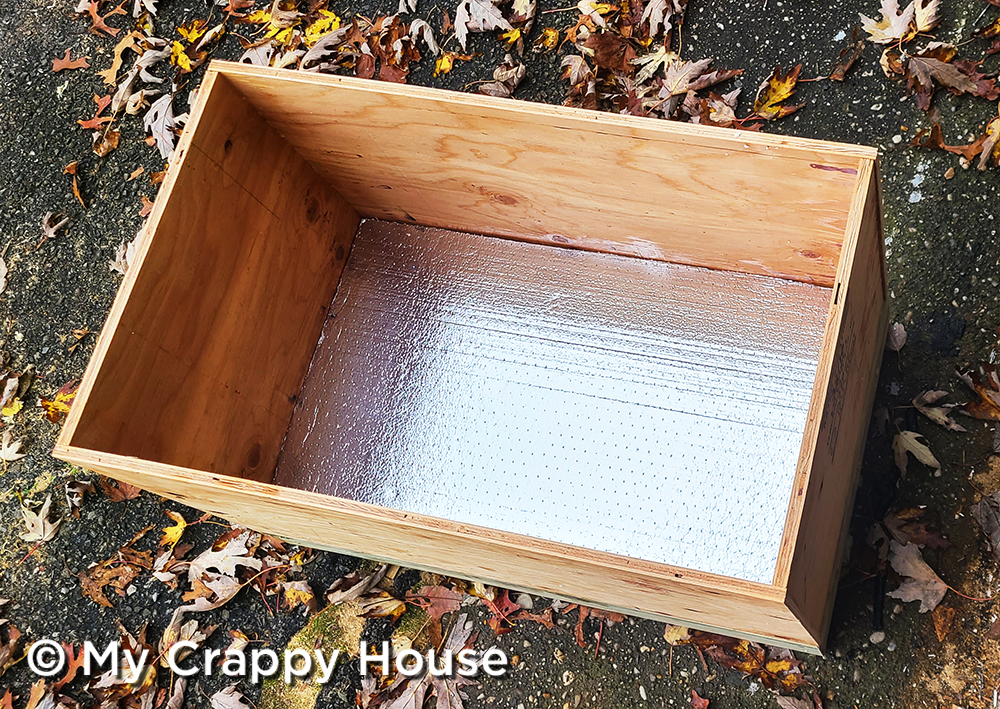
That’s insulation I had left over from when we put vinyl siding on the house, but it’s not very expensive if you need to buy it. Just make sure it’s a half inch thick. Otherwise, the cooler will be too low in the box and the lid won’t open and you’ll be stuck trying to reach in through the cat door to clean it out and maybe someone will see you and think you’re trying to crawl into a cat house and they’ll think that’s super funny and you’ll end up on YouTube, most likely from an unflattering angle.
In Crazy Town, we over-insulate, so I also added a piece inside the base, under the box. I glued it in with spray adhesive, but you could use any glue. It’s not likely to go anywhere.

Cutting the holes for the door was the scariest part of my project because I was so afraid of cracking the cooler plastic. Spoiler alert: It did not crack.
So, as I mentioned in The Plan post, I bought this cat door.

To cut the holes and have them line up through both the wood box and the cooler, I clamped everything together to mark the cut. The cat door comes with a template so you can be sure to get the right size hole.
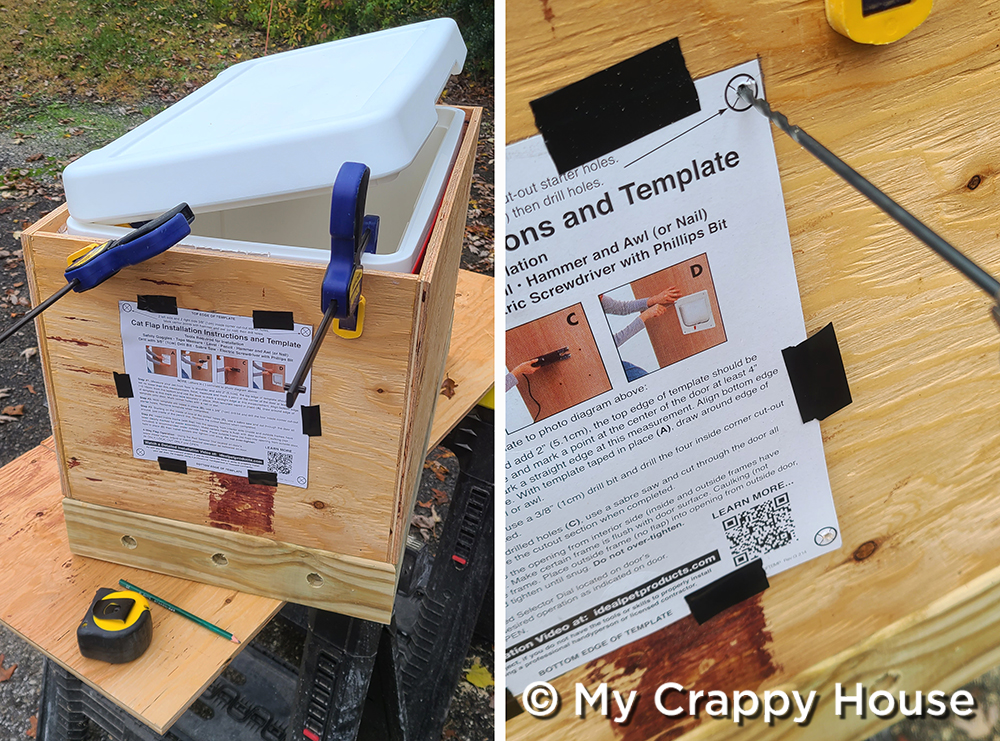
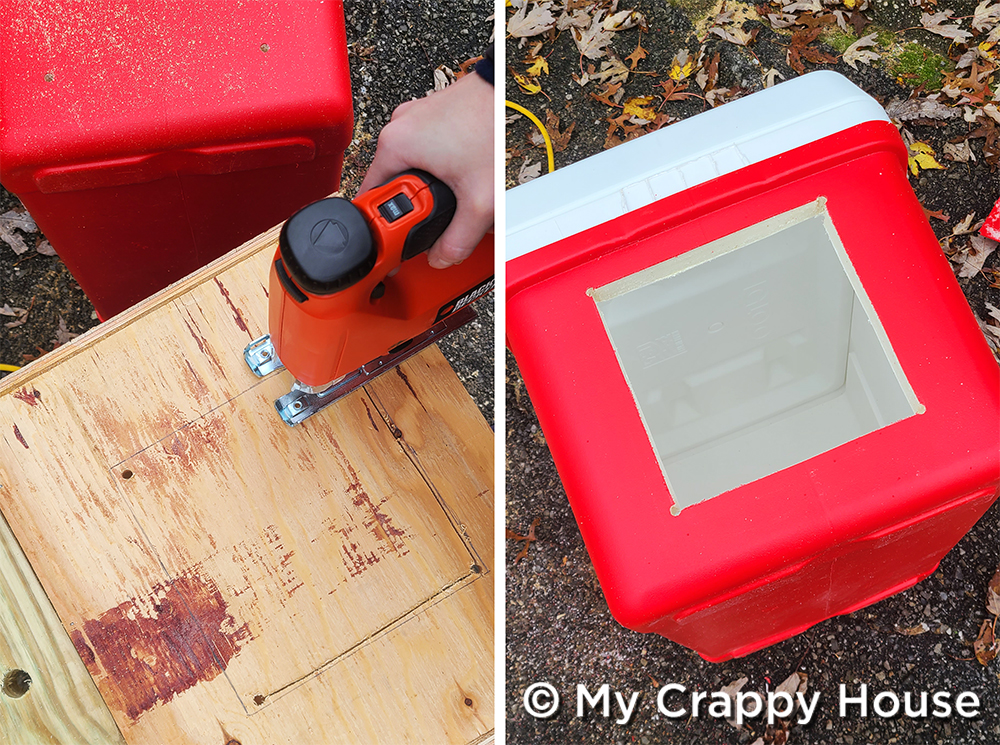
I made the top of the hole 14½” from the ground. Any higher and it would interfere with the box cover. I used a long, thin drill bit at first to avoid cracking the plastic cooler. Once I drilled holes on all four corners, through both the box and cooler, I removed the clamps and drilled bigger holes to accommodate the jigsaw blade. I then connected the dots.
Cutting the wood is easy, but make sure you use a fine tooth bit in your jigsaw to cut the plastic. Using the proper bit is quite possibly the only reason the plastic did not crack like I’d feared.
In The Plan post, one of my readers mentioned in the comments that I should not use the pet door because I could suffocate the cats and that would seriously be catastrophic. I thought she made a good point, but by then, not only had I already bought the door, but I had already cut the holes in the box and the cooler to accommodate it, so I decided to use it anyway. In order to avoid suffocats, I drilled a bunch of air holes through the door.

Now, I will admit it’s quite possible that this cat flap door is overkill (No killing! I drilled air holes!) and I might have left it out of my plan if my kind reader had caught me in time, but I do really like the idea of keeping the wind from whipping through the shelter. I feel like it will be warmer for them, but I realize that my outdoor kitties may not know wtf to do with a door, so I’ll be monitoring the shelter and, if I can’t get them to use the door, I will break out the flap whilst keeping the trim intact.
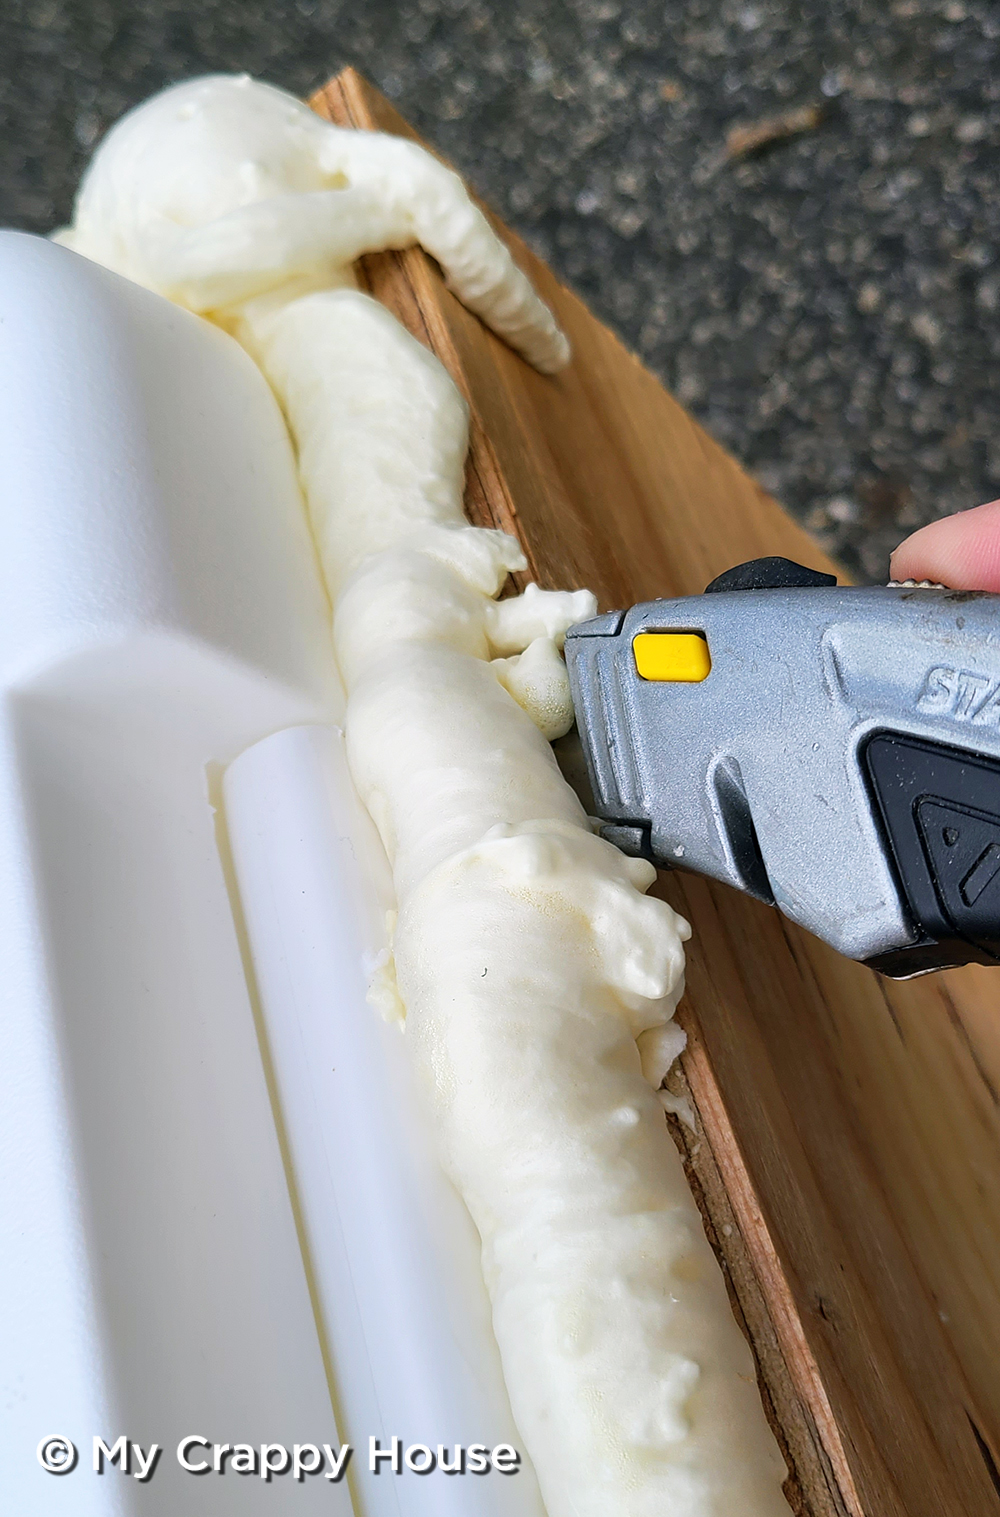
The next step was to add even more insulation. New York winters aren’t the worst, but we definitely do get below freezing temps. I centered the cooler within the box and filled in the space around it with Great Stuff expanding foam. Once it cured, the cooler and the box became one. It was beautiful.

Great Stuff is… well, great stuff, but it’s hard not to make a mess. No problem though. It’s easy to trim away the extra blobbies with a utility knife.
Holy crap, this is a long post. I told you we’d be here a while. You must be getting tired. I know I am. Don’t worry. We’re almost done and then we can all take cat naps. (No, not together. Don’t make this weird.)
To finish off the door, I used this trim, mitering the corners (because in Crazy Town, we miter…), and glued it in place. I used my favorite clamps to hold it while it dried.
If you decide not to use a premade cat flap door, you can just cut a six inch square for the entry and buy a wider trim that will span the entire depth of the hole to cap the raw edges.
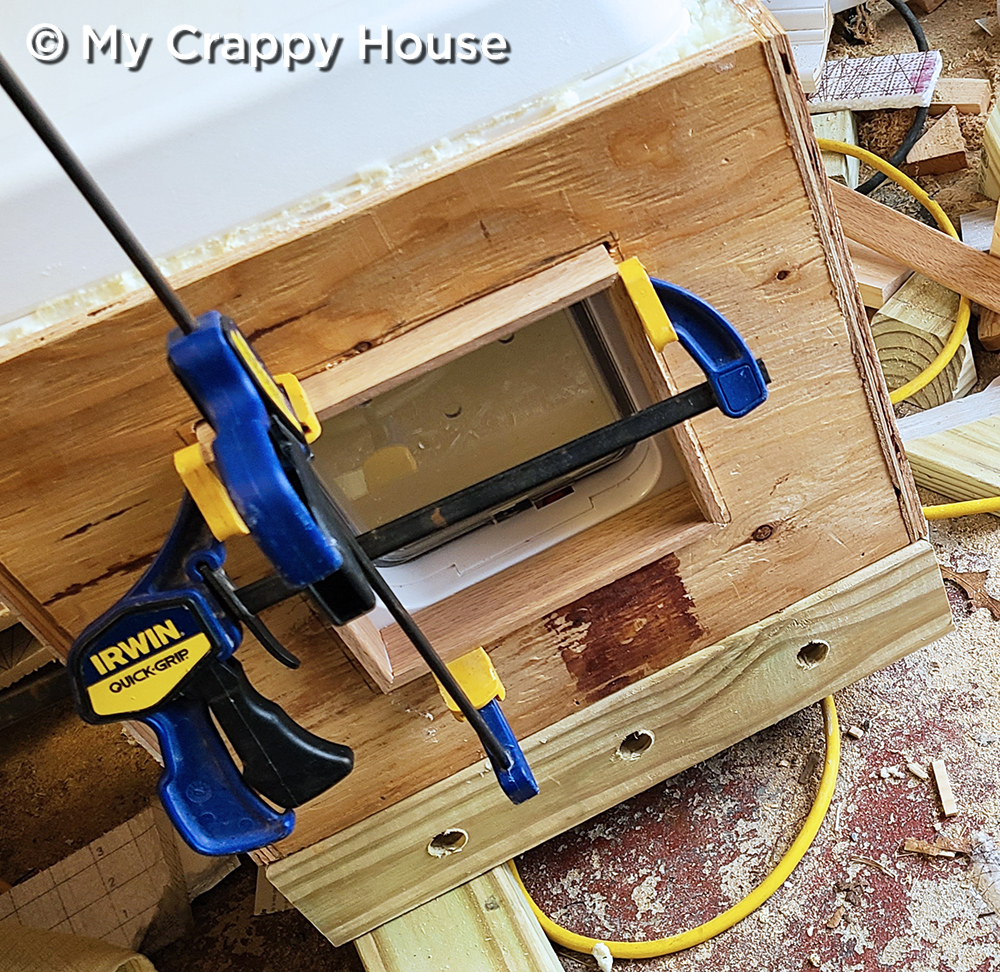
To assemble the cover, I glued the inner lip pieces (C2 & C3) to the top (C1) and clamped it to dry.

There will be another layer (C4 & C5) around this to make up the outer frame (which is why I didn’t miter these pieces – they will be covered), but I don’t have a photo of that and there’s a very good reason why. You see, I couldn’t attach that frame until after I put the siding on my cat house.
… Say what meow?
Oh, yes. You heard me right. I put siding on my cat house. Cedar shingles, to be specific. Guys, I wasn’t kidding when I said we “go big or we go home” in Crazy Town. Please don’t be mad, but there’s going to be a THIRD post in this cat shelter series. If post one was The Plan, and post two is The Build, then post three is going to be The Crazy, because I am seriously out of my freaking mind with this project. It’s going to be my first post of 2021, so you won’t have to wait very long.
It’ll have the siding, the roof (Oh, did I neglect to mention I made a freaking roof?), and the breakdown of how absolutely, ridiculously, obnoxiously expensive this project was. It’s a good thing I’m not unemployed or anything…
Oh, wait. Yes, I am.
For now, I’m going to leave you with this picture…
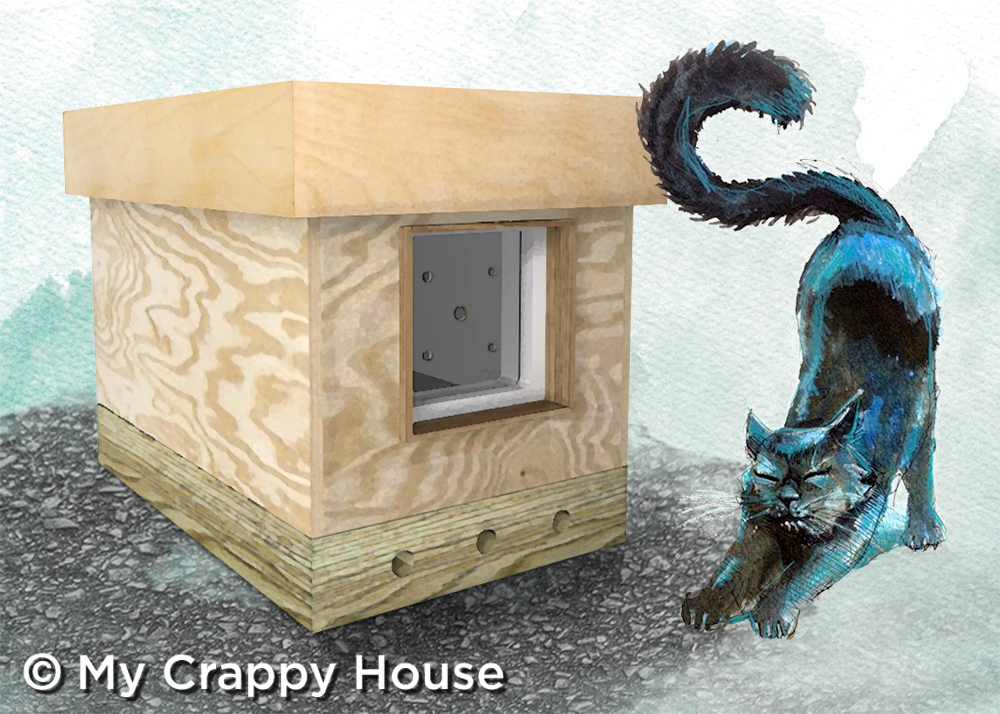
It looks nice, right? You really could be done at this point (if you’re only marginally crazy…), but, seriously, why stop now? Aren’t you curious to see just how ridiculous this thing gets? Of course you are… Don’t forget to subscribe below so you don’t miss the grand finale…
***Time travel links! If you just enjoyed this post about building an outdoor cat shelter, then you’ll be happy to know that The Crazy Post (Part III) is now complete! This turned out to be a four part series and I think you’re really missing out if you don’t read all of the parts. So, check out Part Zero, where we discovered we had stray cats, Part I, where I discuss my plan to build the ultimate cat shelter, Part II (which you just read), and last, but not least, Part III (my favorite part!) where I show you just how ridiculous a house built for cats can be.
*This post contains affiliate links


12 Comments
Sandra
Oh, you are so amazingly talented – and just the right amount crazy. This was a quick read for me, I enjoyed it so much! I know there are a lot of crazy cat people out there (the best, IMO), maybe selling these might turn into a business? I can see Arts and Crafts, Victorian…
My Crappy House
Thank you! I don’t think that would be a very lucrative idea for me though. I mean, I’ve got over two months in labor, not to mention the exorbitant materials cost… I’d have to charge a small fortune for it to make good business sense. I’d much rather share the knowledge and let other people make the trek to Crazy Town…
Joann
Wow!!!!
My Crappy House
Thanks!!!!
Joan
Can’t wait to see the Crazy Town Finale!
My Crappy House
I promise not to disappoint!
Lisa B(ag)
Ummmmeow, that cat house is nicer (and probably larger) than my old apartment!
My Crappy House
Haha these cats are so spoiled… Miss your face!
Em
Only you could get me to read a post (during my busiest week of the year) about something I will never even think of building…just because I so enjoy your sense of humor and writing SO very much.
I have great appreciation for fellow travelers to crazy town… especially one that’s so kind to animals.
My Crappy House
What a nice compliment! Back at you, sista. Happy Holidays to your and yours
Lisa
You’re meow mansion is fantastic. I’m definitely going to attempt to try to make one. I’ve added extra insulation to my coolers by drilling little holes in the outside bottom and inside lid and filling with the expanding foam like what you were using. Will try that on the meaw mansion.
Thanks for sharing you wonderful project.
My Crappy House
Haha the Meow Mansion! I love it. I’m so happy you’re going to make one. Feel free to message me if you have any questions