-
Using an Inspiration Piece to Design a Room
I suck, but I have a plan.
I know I promised you I was working on my door and base moldings, but I haven’t gotten very far. That project is stuck in Deliberation. That’s the part of the process where I stare at the project extensively and contemplate doing it. I know. I suck. It’s possible for a project to be caught up in Deliberation for weeks. Or even months. I know this delay is grounds for dissolution of our contract, (You know. The one that says you will keep visiting my blog as long as I keep posting stuff about my crappy house.) but I’d like to offer you this incentive post to ensure your loyalty. It’s my design plan! (Well, one of them, anyway.) I also want to talk to you about using an inspiration piece to design a room. Seriously, guys. This is a trick you really want to know about.
-
Creatively Cropping Photos to Hide the Truth
Reality Check
When Apartment Therapy asked if they could feature my brick wall on their site (see it here), I was so happy! If I didn’t think I’d break my face, I would have done a cartwheel.
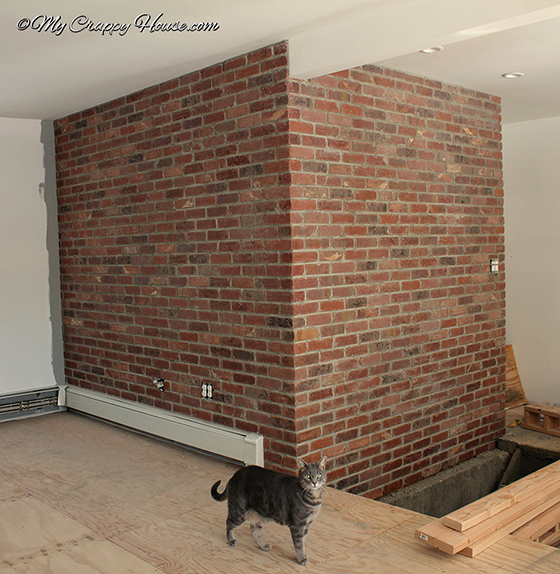
Their only request: could I supply a more “finished” after pic than this one from Brick Love, Part II?
-
Brick Love, Part II
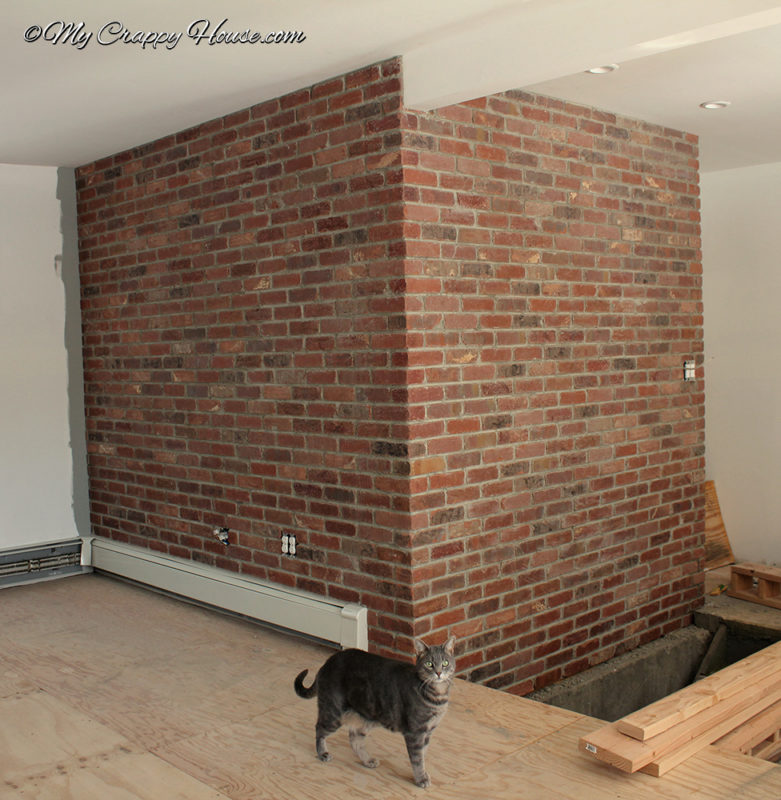
All in all, it’s just another brick in the wall. And another. And another. And… Yeah. Lots more of that.
I wrote Brick Love, Part I so long ago that you probably don’t even care about Brick Love, Part II, but could you please just try to care anyway? Because the brick wall that I installed all by myself came out awesome and I’m very excited to show it to you. And there’s an excellent reason why it took so long…
-
Brick Love, Part I
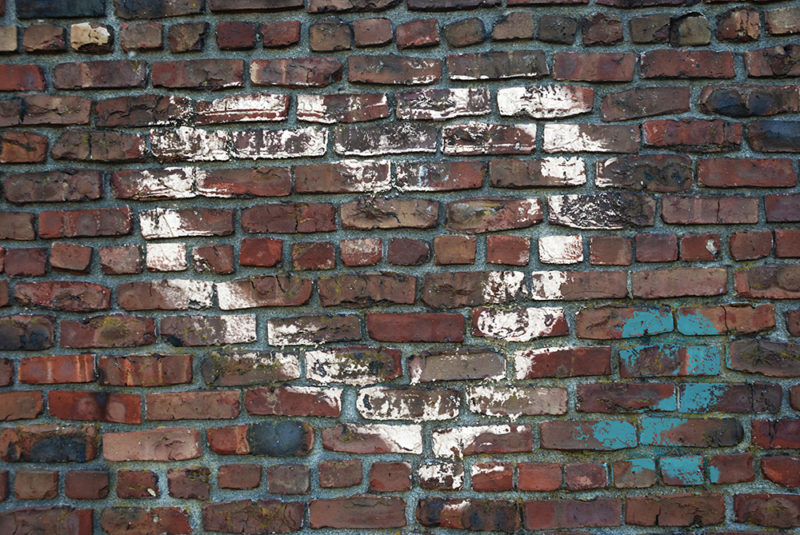
I see posts on design blogs all the time, written by people complaining about their brick wall “eyesores”. They’re seeking advice on how to remove/cover/disguise their brick. Personally, I think they’re nuts and should just replace those brick walls with padded ones. I love brick walls. Beautiful, vintage, NYC loft kind of brick. The kind of brick that looks like it’s been around the block a few times. (Metaphorically speaking, of course. Brick walls tend to stay put.) I guess you always want what you don’t have because, while those crazy people are taking brick out, I am putting it in. Like, on purpose…
-
Removing Load Bearing Walls
Wallectomy: The Surgical Removal of Load Bearing Walls
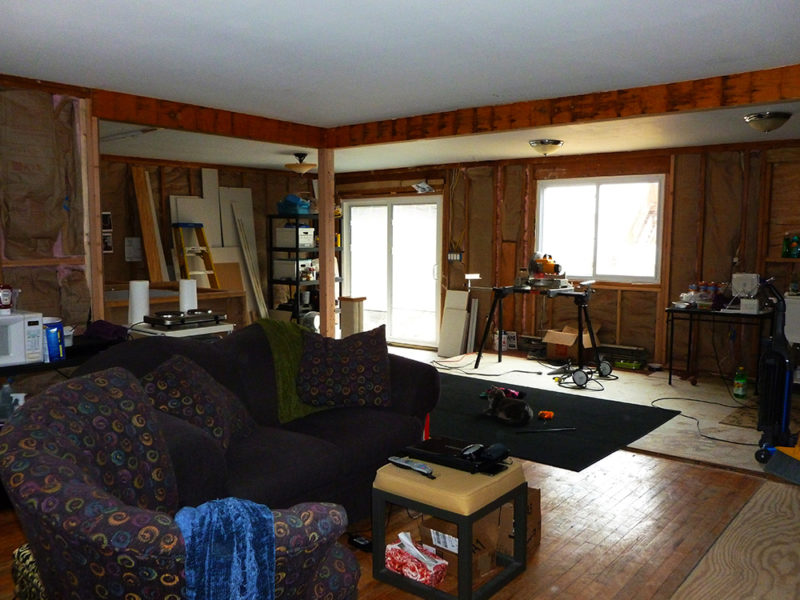
I moved into my crappy house in July of 2011. By January of 2012 I had made little progress on the east wing due to the fact that removing load bearing walls is neither easy nor free. Who knew? (Only just everyone.) Performing a wallectomy isn’t like removing any old wall. You do it wrong and your house basically falls down. It dies. No one wants a dead house, so I had to leave it to the professionals. Luckily, my cousin (Tommy) is one of those, and he likes me, so he eventually made some time to help me out. On the last day of January, I got the call. His exact words? “I’m coming tomorrow. Get the f*ck out.” So Egor and I did.

-
Literally Hundreds of Scary Wasps Hiding in My Wall!

OK, maybe I exaggerated a little bit to get your attention. First of all, this picture is not a wasp, it’s a scary hornet. And second of all, the wasps were in the walls. At some point. A while ago. Then they packed up their crap and moved out. This house was too crappy, even for them.
And maybe it wasn’t hundreds. Probably not.
-
Before and After Floor Plans
What’s the Plan?
I have so much I want to share with you, but let’s start at the very beginning. (A very good place to start.) When I first saw My Crappy House, I could tell it had so much potential. Like a diamond in the rough. (OK, maybe not a diamond. Maybe like… a high quality cubic zirconia. In the rough.) It just needed a makeover. Keep reading to see the before and after floor plans of My Crappy House remodel.
I closed on My Crappy House in mid May and planned to move in mid July, leaving me ample time to renovate. Yes, I seriously thought that the major structural changes I’m about to share with you could be accomplished in two months.
By me.
Just… me.
Because, you know, how hard could it be? Watch a few YouTube videos… Buy some tools… Knock down a couple of walls… Easy peasy.
This was the first of many delusions.


